Update media-catalog via Internet
With MyBusinessCatalog, you can upload updates for previously
created media catalog for Windows .
The essence of the system is as follows: you, as an administrator, upload updates via the FTP protocol
to your website in a public folder, and the client catalog automatically downloads updates via the HTTP protocol.
Thus, a folder on your site acts as a cloud for updates.
The entire user interface is reduced to a single update status icon, by clicking on which you can get current information on the process. The update itself runs without user interaction, but can be turned off if desired.
To upload the updates of the media catalog, open the window of the updates wizard.
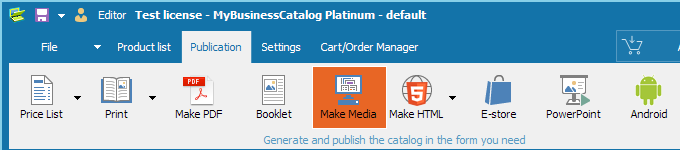
Main window for setting up and creating a media catalog for Windows

Updates location on FTP server
(See FAQ for more information)
Specify the folder where the information is to be located on the server. The
recommended location is /htdocs/your_folder. All the subfolders
required for proper work will be created automatically when the first
upload is performed.
Port – enter your FTP server port.
Updates HTTP location
Enter the same address as you have specified in the field FTP address.
For more information please address to your administrator or hosting
provider.
Port – enter your HTTP server port.
If you do not plan to support updates via Internet, select the option “Do not use Internet updating” on the Configurator menu. The Update item will be disabled on the Catalog menu.
More on the Catalog update options
FTP configuration
To access FTP server you should specify the server address, your login
and password.
The information is safely encrypted and is not disclosed to your client.
Having entered other required information, click on the “Upload data
to server” button.
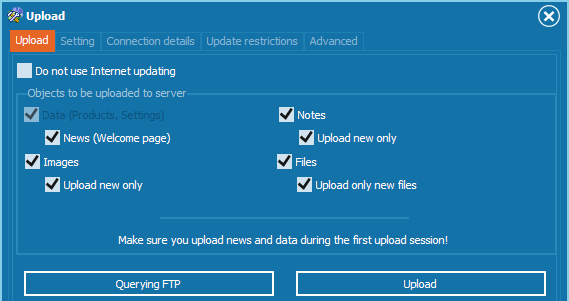
That will open the “Upload” window.
In the upper part of the program’s window, select the objects to
be uploaded to the server.
By default, all options are selected.
Clicking on the “Upload” button starts uploading data to the
specified FTP server.
Query FTP
The “Upload” window displays files that are to be uploaded to
the FTP server. Those files are marked as
![]()
Clicking on the “Query FTP” button compares files to be uploaded
with files on the server. Once the comparison is complete, only files
that are not yet on the server will remain selected. This feature’s
purpose is simply informing users of the files that are already on
the server.
The lower part of the “Upload” window displays the progress bar.
The contents of the window can be saved to a text file. To save the window to a text file, click on the “Save” button.