Introduction
The catalog provides the ability to include in an additional expanded description product
and unlimited additional files and images .
When you select a product item in the list, an information block is displayed on the right,
and below it is a panel of all data attached to the product - pictures, files and descriptions
You can arbitrarily change the position of files relative to each other by simply dragging and dropping.
The first picture or description itself is always displayed.
Adding pictures and files

You can add a picture or any other file. Files of a different format (for example, PDF)
can be opened only from the application interface,
or upload and view when uploading to an online store based on Joomla/VirtueMart
You can add pictures and files in three ways
1 Just drag the file from Windows Explorer or your Internet Browser to the panel.
2 Move the mouse over the Add file button and select the Choose file menu item.
3 Hover the mouse over the Add file button and select the menu item Paste from the clipboard.
The clipboard should contain a graphic image. You can copy a picture to the clipboard in a graphics editor,
capture from the screen, or in the browser - right mouse button on the picture - "Copy image".
Operations with files in a catalog
When you hover the mouse over a thumbnail of a picture, file or descriptions, two icons appear in the upper part - one removes the picture, the second renames.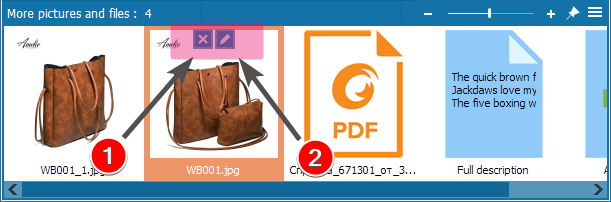
In this case, the picture is not physically removed, but only detached from the product, because it can be used in other goods.
You should either disable this option, or delete the picture physically.
The main menu item File About open catalog project folder then Images folder.
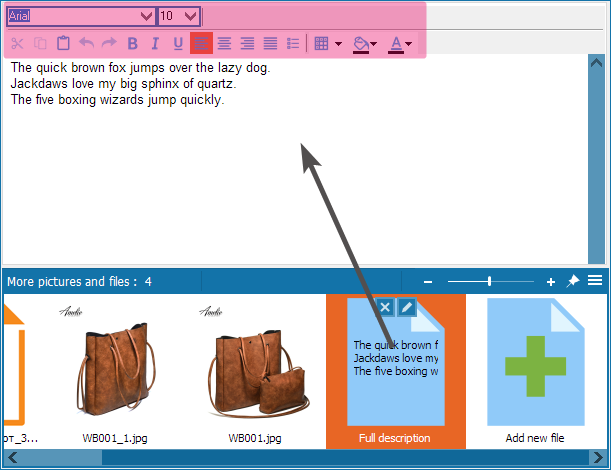
Adding a product description
On the panel, select the Full Description button and type a description for the product.In the upper part of the text input there is a standard text editor button menu for text formatting.
Please note: the description file name matches the product code from the first column, therefore, for products with the same or missing code, it will always be the same. Observe the uniqueness of the codes.
The entered information is automatically saved when you exit the editing window.
Additional settings
When you hover the mouse over the right side of the photo or click on the menu above the list of pictures, a menu of additional settings will open.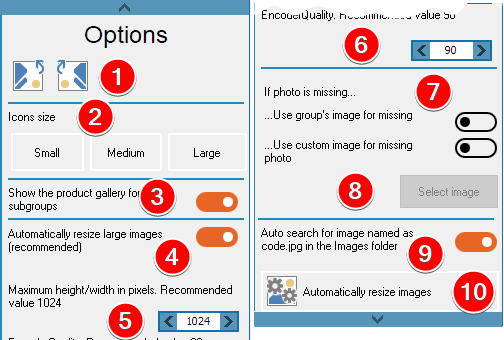
Description of options:
1 Rotate the current image right - left
2 The size of the thumbnail icons in the lower block. Set as you like in depending on the screen size and the fullness of the file panel
3 When this option is enabled, when you click in the list of products in a subgroup, a gallery of products included in it appears on the right
4 If this option is enabled, automatic reduction works in any way of adding pictures - manually or by data import .
The reasons for this approach are described in this article
5 You can specify the maximum size in pixels that the photo will have when reduced.
6 Image quality with automatic optimization
7 If the product does not have a photo, then when the option is enabled, the photo that you assigned to the group will be shown. It is very convenient when a group consists of the same type of goods
8 ...or you can choose your own drawing
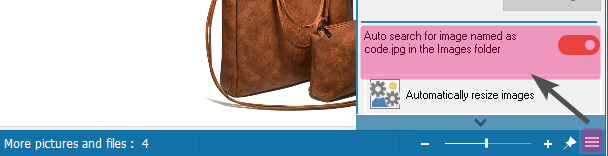
9 Will automatically find a picture if its name matches the code. The principles of this approach are described in this article
10 Opens advanced batch wizard all the images in your catalog to find the wrong format, optimizing and reducing